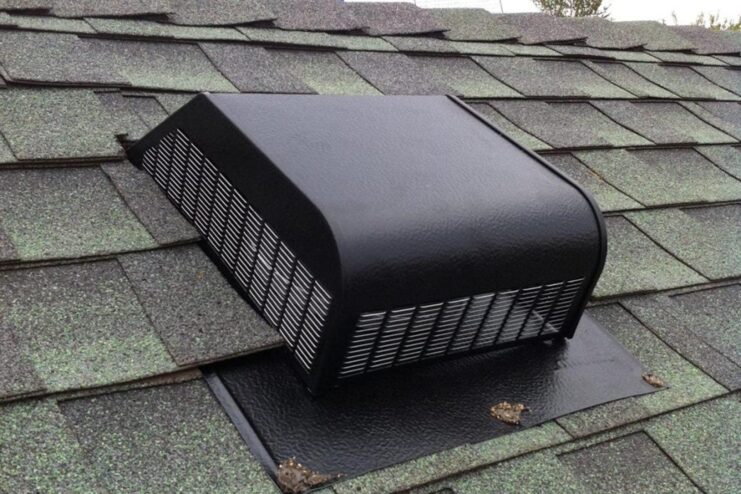
Proper roof ventilation is not merely an aspect of home maintenance; it’s a critical component in safeguarding the integrity of your home. Effective ventilation regulates temperature, prevents moisture damage, and can significantly extend the lifespan of your roof. This blog post is designed to demystify the process of installing roof vents, guiding you through each step with clarity and precision. From understanding the types of vents available to the final installation, we’re here to ensure that your home remains a comfortable and safe haven. Let’s embark on this journey towards creating an efficiently ventilated space.
Types of Roof Vents
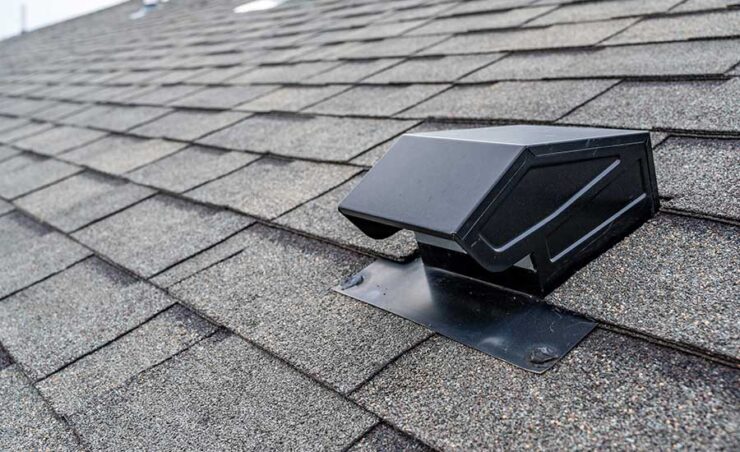
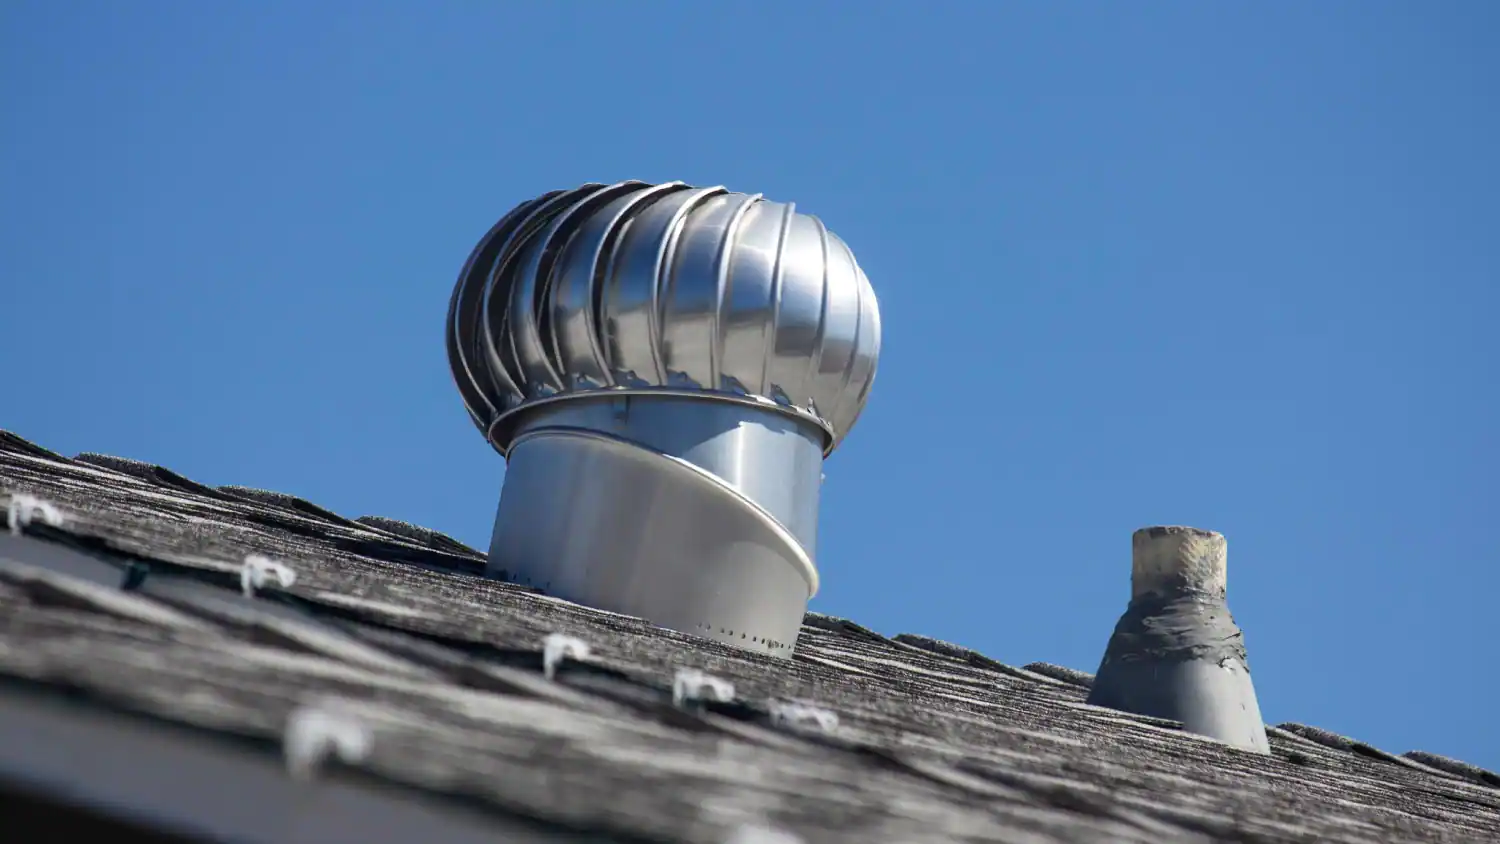
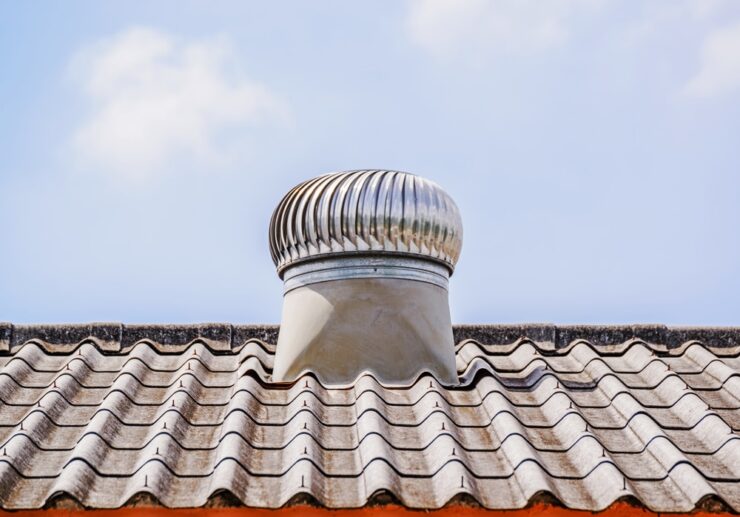
Roof ventilation is pivotal for maintaining a balanced temperature and humidity level in your home. There are various types of roof vents, each with unique characteristics. Ridge vents run along the peak of the roof, offering a seamless look and consistent ventilation. However, they may not suffice for larger attics. Soffit vents, installed under the eaves, allow fresh air into the attic, complementing ridge ducts for optimal airflow. Their drawback is the potential for blockage by insulation. Gable vents, placed on the exterior wall of the attic, facilitate cross-ventilation but are less effective in windy conditions. Lastly, turbine vents use wind power to draw air from the attic, providing excellent ventilation but requiring sufficient wind to operate effectively.
Assessing Ventilation Needs
Proper ventilation hinges on understanding your home’s specific needs. Assess your attic and roof size, and consider the local climate. For instance, homes in humid regions require more ventilation to prevent moisture accumulation. Proper ventilation prevents roof damage, reduces energy costs by maintaining temperature balance, and prevents moisture-related issues like mold. Ideally, there should be a balance between the intake (through soffit vents) and exhaust (ridge or turbine ducts), with a general guideline of 1 square foot of vent area per 150 square feet of attic space. To better assess your vents you’re better off contacting rsbconstructionllc.com.
Gathering Necessary Tools and Materials
Before embarking on the installation, gather the necessary tools and materials. You’ll need the roof vents, roofing nails or screws, a circular saw for cutting openings, a hammer, a pry bar, and sealant to waterproof the ducts. These items are typically available at hardware stores or home improvement centers. Opt for quality materials to ensure durability and consult with store professionals or online resources if you’re unsure about the best options for your specific roof type.
Safety Precautions
Prioritize safety to prevent accidents. Ensure you’re equipped with non-slip footwear, gloves, and eye protection. Secure the ladder on stable ground, and consider using a safety harness. It’s best to work on a clear, dry day as wet roofs can be slippery. Moreover, having a partner not only makes the process safer but also more efficient.
The efficiency of a roof vent is significantly influenced by its location. For ridge vents, the placement is straightforward along the roof’s peak. When installing soffit or gable vents, ensure they’re evenly distributed to facilitate uniform air intake. The spacing between ducts should allow for proper air circulation, avoiding dead spots with stagnant air. In general, vents should be placed away from obstructions like trees and should not interfere with the structure of the roof.
Installing roof vents typically involves cutting through the roof decking. First, outline the area to be cut, ensuring it aligns precisely with the vent’s dimensions. Use a circular saw set to the thickness of the decking to make the cut. It’s crucial to cut accurately to avoid structural damage and to ensure the vent fits snugly, minimizing the risk of leaks. Always follow the manufacturer’s instructions and wear appropriate safety gear during this process.
Installing Roof Vents
Proper installation of roof vents is crucial for their performance and longevity. Start by selecting the appropriate location on your roof, ensuring there is enough space between ducts for balanced air intake and exhaust. After cutting the opening, securely fasten the vent using the right type of screws or nails – typically, rust-resistant galvanized nails or screws are recommended. It’s imperative to avoid any future leaks by sealing around the edges of the vent. Use a high-quality roofing cement or silicone caulk to seal any gaps between the vent and the roof surface, ensuring a watertight seal.
The choice of fasteners and roofing cement plays a pivotal role in the long-term stability and effectiveness of roof vents. Using inadequate or mismatched fasteners can lead to loose ducts, potentially causing leaks or other damage to your roof. Similarly, selecting the right roofing cement ensures a durable seal that withstands weather elements, preventing water infiltration and maintaining the structural integrity of your roof.
Ventilation in Attics
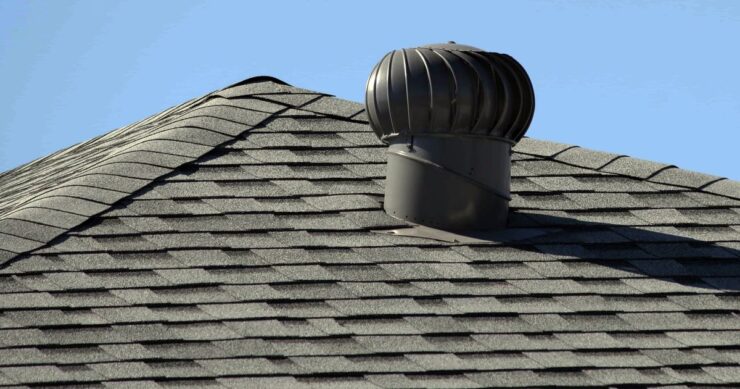
A well-ventilated attic is vital for regulating temperature and humidity levels within a home. Ensure that your attic has both intake and exhaust vents to facilitate proper airflow. The goal is to create a balance, allowing fresh air to enter through soffit or gable vents while hot, moist air exits through ridge or roof ducts. This balance helps in preventing issues like ice damming in winter and excessive heat buildup in summer.
Baffles are essential in maintaining clear airflow paths from the intake vents to the exhaust vents. They prevent insulation from blocking the soffit ducts, ensuring that air can move freely. Moreover, adequate insulation on the attic floor is crucial in preventing heat transfer from the living spaces to the attic, aiding in maintaining optimal temperatures and further supporting the ventilation process.
Maintenance and Inspection
Roof vents require regular maintenance to ensure they function correctly. It’s important to inspect them periodically for any signs of damage, blockages, or wear. Look for cracks, rust, or any indication of water infiltration that can compromise their integrity.
Homeowner’s Checklist for Vent Maintenance
A simple checklist for homeowners can include:
Clearing debris and nests from vents.
Inspecting for and sealing any gaps or cracks.
Checking for rust or corrosion on metal components.
Ensuring all fasteners are secure and intact.
Verifying that insulation and baffles are correctly placed and undamaged.
Troubleshooting Common Issues
Leaks are a common problem with roof vents and can lead to significant damage if not addressed promptly. Inspect the flashing and sealant around vents for any signs of wear or damage. For blockages, ensure that ducts are clear from debris like leaves, nests, or snow. Regularly cleaning your vents can prevent most blockage-related issues.
For leaks, reapplying roofing cement or replacing damaged flashing can often solve the problem. If you encounter persistent issues or are unsure about the cause of the problem, it’s advisable to consult a professional. To prevent blockages, install screens or guards that keep debris and animals out, ensuring continuous airflow.
Conclusion
In summary, effective roof ventilation is achieved through proper installation, regular maintenance, and addressing any issues promptly. By ensuring that your roof vents are correctly installed, utilizing baffles and insulation for optimal airflow, and maintaining the ducts regularly, you can protect your home from moisture-related damages and enhance its energy efficiency.
Taking proactive measures to ensure your roof ventilation is functioning optimally is a wise investment in your home’s health and longevity. Regular inspections and maintenance can prevent costly repairs and contribute to a more comfortable, energy-efficient living environment. Don’t hesitate to seek professional advice if you encounter issues beyond your expertise, ensuring that your roof remains in top condition for years to come.

